If you came to Adobe Premier Pro from Final Cut Pro seven or earlier, there was a feature thatyou may have gotten used that you missed. That was the ability to have multiple projects open at the same time. A lot of folks like to do this so that they can easily browse multiple projects and just move things between bins as needed to quickly access content. Now this type of workflow is supported in Premier Pro as of the 2018 edition. However, it's a little bit complex and I want to walk you through the benefits as well as some of the gotchas.
Video
The Future of Creative Education
At this year's NAB, I was invited to kickoff the conference as a guest on their live broadcast. I had a chance to talk about changes in the world of educating creative professionals. I shared some of my own view points about where things are going and how the changes affects students and working pros alike. My interview starts around the 22 minute mark.
An In-Depth Look at the FAA's New Drone Registration Policies... If You Fly, Watch This!
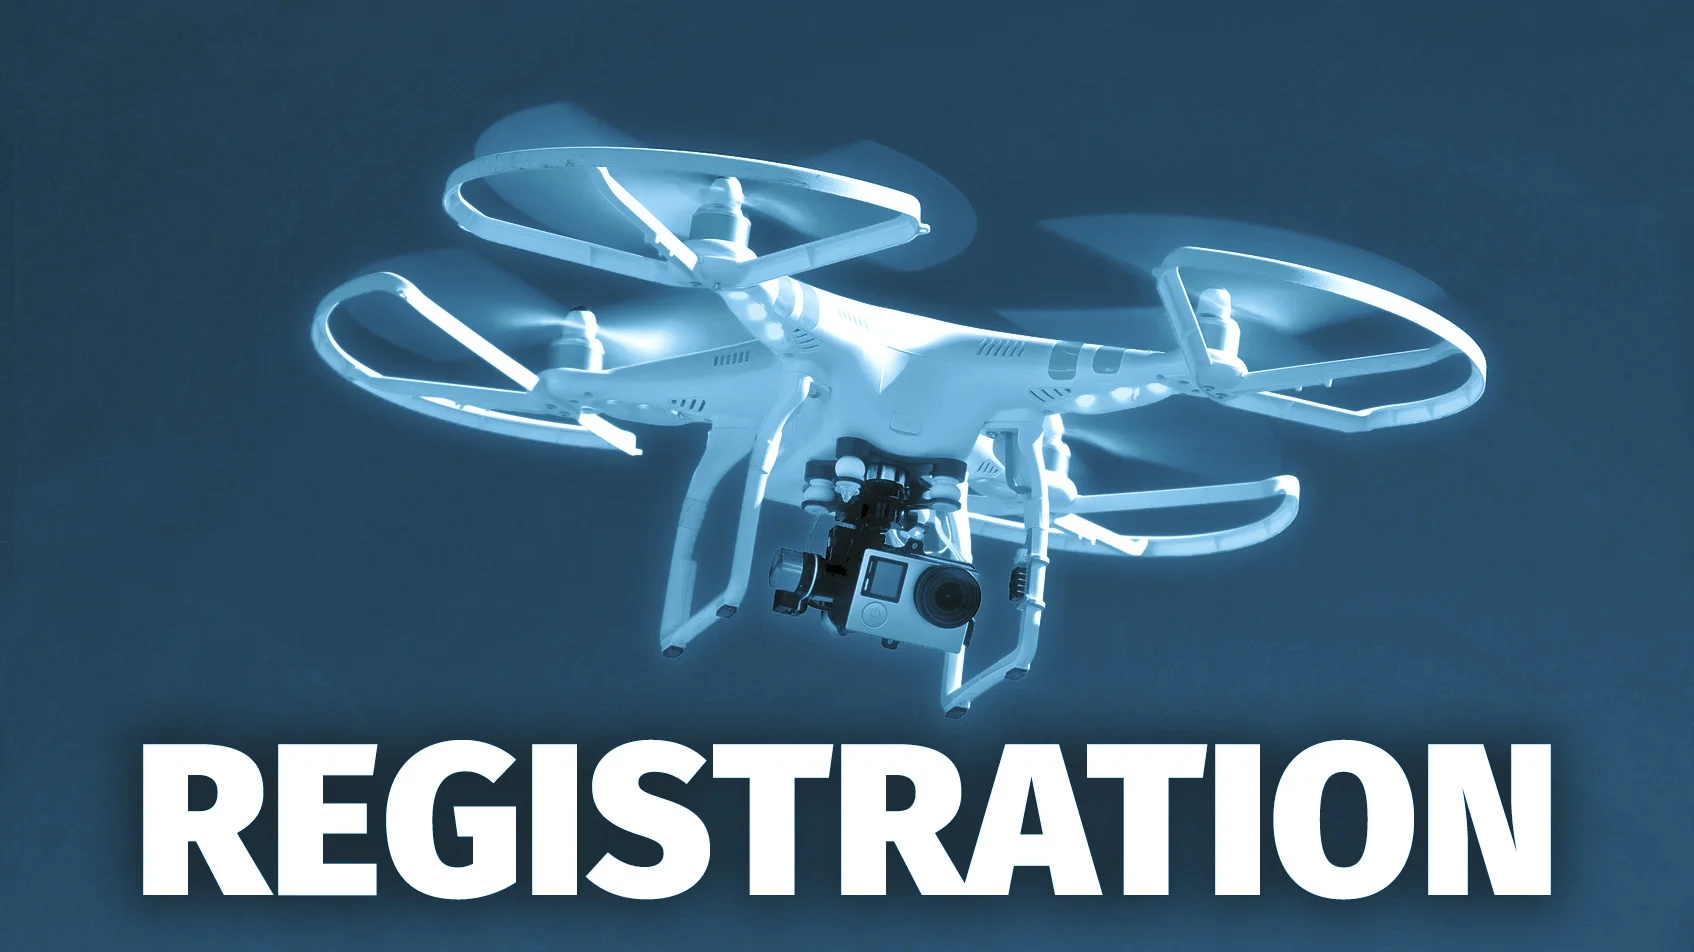
If you fly a drone, quadcopter, model airplane, or UAS in the United States airspace, the Federal Aviation Administration wants you to register your device. These new regulations went into effect today, December 21, 2o15. While the process of restoring takes less than 5 minutes, there are a lot of hidden details buried within the numerous government documents about UAS registration.
The In-Depth Look
I've dug deep into every document that I could find and have put together a comprehensive look at the new regulations. If you fly, or are thinking about buying a drone I'd strongly suggest watching this tutorial.
The Federal Aviation Administration (FAA) recently released new regulations about flying a drone in the United States airspace. This in-depth video explores the registration process as well as the policies. We've read through hundreds of pages or rules and regulations to bring you the most essential information.
Just the Registration Part
If you only want the mechanics on HOW to register using the website... here's just that part of the tutorial.
In this video, you'll learn how to register your drone on the Federal Aviation Administration's website (FAA.gov). If you fly a quadcopter, drone, UAS, or model airplane, you now need to register if you plan to fly outdoors in the United States. This is the short, how-to video.
Skim the Highlights
The Official Bits
Here's some of the key details from the FAA. You can find out more here (http://bit.ly/registeradrone)
Which unmanned aircraft do I have to register?
Owners must register their UAS online if it meets the following guidelines:
- Weighs more than 0.55 lbs. (250 g) and less than 55 lbs. (25 kg). Unmanned Aircraft weighing more than 55 lbs. cannot use this registration process and must register using the Aircraft Registry process.
See examples of UAS that do and do not require registration (PDF).
Owners must register their UAS by paper if it meets the following guidelines:
- Your aircraft is used for commercial purposes.
- Your aircraft is used for other than hobby and recreation.
- Your aircraft is greater than 55 lbs.
- You intend to operate your aircraft outside of the United States.
How do I register my UAS?
It costs only $5 to register your UAS and the process is simple and web-based. Registration is free for the first 30 days. Some things you'll need before you get started:
An email address
- Credit or Debit card
- Physical address and mailing address (if different from physical address)
Your registration is valid for three years. Once you receive a registration number, you can use it on all of your unmanned aircraft if they meet the online registration criteria.
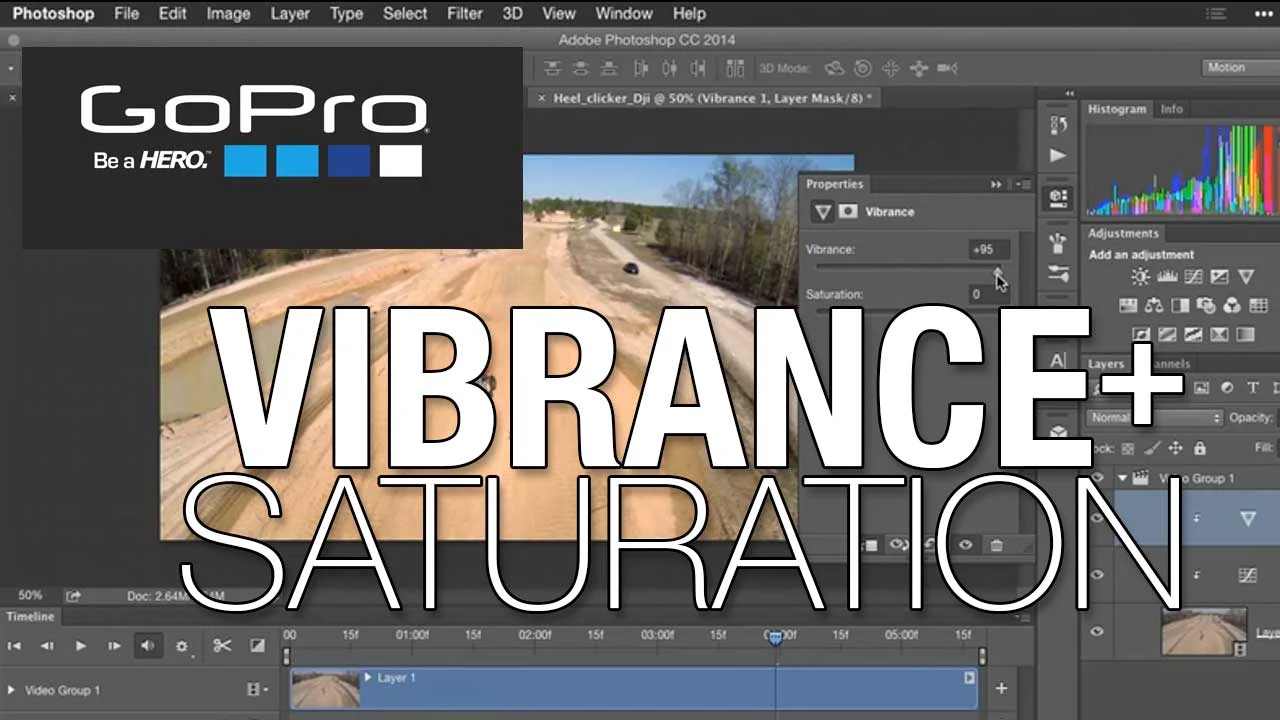
Improving GoPro Footage and Stills with Vibrance and Saturation
GoPro footage is heavily compressed, which means your images can appear dull and flat. Fortunately its a pretty easy fix using Photoshop or Lightroom. Learn how to improve the look of your images and add life back to the shot.
Watch more at http://www.lynda.com/GoPro-tutorials/...
This tutorial is a single movie from the course Editing GoPro HERO Photos and Videos with Lightroom and Photoshop, by lynda.com author Richard Harrington. The complete course is 2 hours and 44 minutes and shows how to get the most out of your photos and videos from the GoPro HERO with these Photoshop and Lightroom enhancement techniques. Improve color and contrast, adjust exposure, remove artifacts, make time-lapse videos, and more.
Assembling a Timelapse Video with Photoshop
Although traditionally Photoshop has been a photo editing application, newer versions of the software (CS6 Extended and later) can also handle video. In this tutorial, see how to assemble a time-lapse sequence in Photoshop. Watch more at http://www.lynda.com/Final-Cut-Pro-tu....
This specific tutorial is from the DSLR Video Tips series presented by lynda.com authors Rich Harrington and Robbie Carman. The complete DSLR Video Tips course is presented as a weekly lynda.com series and covers the most common questions videographers encounter when shooting and editing with DSLR (digital single-lens reflex) cameras, from choosing a frame size and frame rate to understanding moiré.
© James Phelps JR
I'm Coming to Detroit to Speak About The Business Side of Video
If you live in the Detroit area, I'm coming to give a talk on the business side if video production. This talk is aimed at both video pros and photographers. The event is organized by ASMP.
It is common for clients to ask still photographers to shoot video. How do you go about budgeting and planing a video project? There is an increasing demand for photographers to utilize their talents in this medium and Richard Harrington, DC Based, will shed some light on this topic, Selling, Budgeting, and Planning Video Projects.
We are really exited to be able to give away, in addition to our normal door prizes, 2 Premium Portfolio Memberships with PhotoServe.com.
Must register to be eligible.
Event Description
http://www.asmp.org/education/event/info?id=1031
Register here
http://www.asmp.org/education/event/register?venue_id=1449
Removing Distortion from a Video Shot with Upright in Photoshop
There are times when our footage can look a bit distorted and the perspective can be off. In this movie I show you an example of when this happened with my footage. Adobe has a number of ways to fix these issues and one tool I’ll explore with you here is called Upright.
Correcting for Lens Distortion - Removing Distortion with Upright
To learn more, I’ve created an exciting course called Repairing and Enhancing Video with Lynda.com.
http://www.lynda.com/After-Effects-tutorials/Removing-distortion-Upright/149128/160032-4.html
Whether you want to fix a problem in post or simply give your video more style, this course will help everyone from motion graphics designers to video editors improve their footage. Rich Harrington uses Adobe Photoshop, After Effects, and even Illustrator to correct problems you'd encounter in real-world projects, like lens distortion, camera shake, noise and grain, and overblown exposure. Plus, you'll learn advanced techniques for speeding up or slowing down your video, rotoscoping footage, and using the numerous creative color and texture effects in Photoshop and After Effects. If your footage has ever needed some extra attention, this course is for you.
Topics in this course include:
- Reviewing the retoucher's toolbox
- Stabilizing footage
- Fixing alignment
- Retiming footage
- Removing lens distortion
- Using rotoscoping to enhance footage
- Recovering exposure
- Color grading with Photoshop
- Converting to black and white
- Creating a film or painterly look
- Adding depth of field
You can check out the class here — http://www.lynda.com/After-Effects-tutorials/Removing-distortion-Upright/149128/160032-4.html
Recovering Exposure in a Video Shot
Properly exposure of your footage is everything. The next best thing to do is slightly underexpose and preserve the details. If you’re shooting RAW video then this becomes less of an issue as you have more latitude. I will take a few examples of poorly underexposed shots and using Adobe After Effects will bring the details back to life using a few of my favorite tools and techniques including, matching tolerance and the Refined Matte Effect.
Recovering Video with Exposure
To learn more, I’ve created an exciting course called Repairing and Enhancing Video with Lynda.com.
http://www.lynda.com/After-Effects-tutorials/Recovering-exposure/149128/160041-4.html
Whether you want to fix a problem in post or simply give your video more style, this course will help everyone from motion graphics designers to video editors improve their footage. Rich Harrington uses Adobe Photoshop, After Effects, and even Illustrator to correct problems you'd encounter in real-world projects, like lens distortion, camera shake, noise and grain, and overblown exposure. Plus, you'll learn advanced techniques for speeding up or slowing down your video, rotoscoping footage, and using the numerous creative color and texture effects in Photoshop and After Effects. If your footage has ever needed some extra attention, this course is for you.
Topics in this course include:
- Reviewing the retoucher's toolbox
- Stabilizing footage
- Fixing alignment
- Retiming footage
- Removing lens distortion
- Using rotoscoping to enhance footage
- Recovering exposure
- Color grading with Photoshop
- Converting to black and white
- Creating a film or painterly look
- Adding depth of field
You can check out the class here - http://www.lynda.com/After-Effects-tutorials/Recovering-exposure/149128/160041-4.html
The Paste Attributes Option Dialog for Premiere Pro
You can now selectively paste attributes from one clip and apply it to another, with the new features added to Adobe Premiere Pro CC. We’ll explore the Paste Attributes option dialogue in this course and I will demonstrate working with this updated feature.
The Improved Effects Workflow: The Paste Attributes Option Dialog
To learn more, I’ve created an exciting course called Premiere Pro: Creative Cloud Updates, for Lynda.com
http://www.lynda.com/Premiere-Pro-tutorials/Paste-Attributes-option-dialog/126763/129887-4.html
Adobe Premiere Pro CC has some very exciting new features and updates. It’s important to stay on top of these new features so you can maximize your experience and workflow as you’re in post production. This course is dedicated to the video producers and editors who need to leverage the latest Premiere Pro tools and techniques fast. I will cover all of these new features, which include: a customizable user interface, quality and format improvements like the enhanced Mercury Playback Engine, timeline tricks, and media management techniques, and the best audio, multicamera, and closed captioning workflows.
Topics in this course include:
- Switching between audio waveforms and video
- Creating a new sequence
- Integrating scripting with the Story panel
- Working with different camera formats
- Selecting and nudging clips
- Using dupe-detection markers
- Copying and pasting ranges
- Nesting sequences
- Relinking offline sequences
- Color grading with the Lumetri Deep Color Engine
- Adjusting clip volume
- Automatic syncing with audio waveforms
- Recording multicamera edits
- Adjusting timing and display of captions
- Exporting multiple clips/sequences
You can check out the class here - http://www.lynda.com/Premiere-Pro-tutorials/Paste-Attributes-option-dialog/126763/129887-4.html
Higher Quality Encodes with Variable Bit Rate Encoding
When time is on your side and you’re looking for the highest quality compression, then you want to go with variable bit rate encoding. Working with high quality encoding is time consuming but worth the time. Join Jason Osder in this course as he takes you through the necessary steps to properly encode using the variable bit rate method.
Adobe Premiere Pro Working with Photoshop: Higher Quality Encodes with Variable Bit Rate Encoding
To learn more, Jason Osder has created an exciting course called: Premiere Pro Guru: Outputs and Media Encoder with Lynda.com http://www.lynda.com/Premiere-Pro-tutorials/use-codecs/149702/154476-4.html
Outputting video is one of the most important yet misunderstood parts of the creative process. If you work with Adobe Premiere Pro, it's critical to understand how to choose a format, convert frame rates, and work with Media. In this course Jason Osder covers encoding 101 and shows you how to access Media Encoder from inside Premiere Pro or as a stand-alone program, create an efficient export workflow and encode for formats such as broadcast, DVD or Blu-ray, YouTube, and mobile devices.
Topics in this course include:
- Understanding compression terminology
- Exporting directly from Premiere Pro
- Using the Media Encoder interface
- Outputting media for Apple and Android devices
- Adjusting settings
- Automating compression workflows
You can check out the class here - http://www.lynda.com/Premiere-Pro-tutorials/use-codecs/149702/154476-4.html


